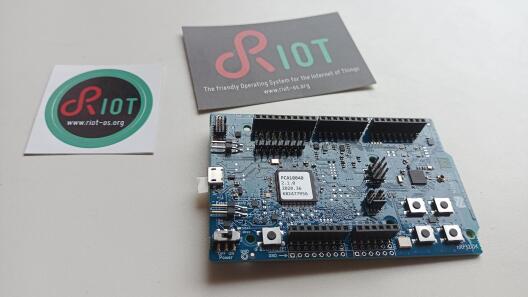
Working with RIOT on the nrf52840dk in the lab
 In order to use RIOT on the nrf52840dk using the lab environment a few things needs to be configured.
Connect the hardware
Connect the device to the computer via a micro USB cable. Use the USB connector at the short side of the board (next to the label “External supply”). Make sure that the switch labeled “nRF power source” is set to VDD. Power up the board by using the ON-OFF switch. The green LED next to the label “VCOM” should light up.
Install Debian packages
In order to build, flash, and communicate with the board, you will need to install a couple of software packages. On a Debian machine the tool apt can be used for installing software. At first, run the following commands to install the required software:
sudo apt update
sudo apt install git gcc-arm-none-eabi make gcc-multilib libstdc++-arm-none-eabi-newlib openocd gdb-multiarch doxygen wget unzip python3-serial
Next, the corresponding udev rules needs to be configured to allow access to the hardware for a regular user. Download the software package provided by Nordic Semiconductor. Install it via
sudo dpkg -i nrf-udev_1.0.1-all.deb
Finally, optionally, the tool nrfjprog can be installed in order to configure various hardware features via the command line.
Programmers
The board has its own SEGGER J-Link debugger/programmer on board. I.e., no additional hardware is required for flashing the board with your RIOT application or debugging one. (In fact, you can even use this board’s SEGGER device to flash other devices.) From the software side you can flash the board with SEGGER’s J-Link tool or OpenOCD.
Flashing the device
In order to check whether everything is setup correctly, clone the RIOT repository (if you haven’t already) and run
BOARD=nrf52840dk make -C examples/default flash term
If flashing was successful you should get access to the RIOT shell and see a line containing Welcome to RIOT!. Type help to get a listing of supported commands. If flashing fails, check the next paragraph.
Recovering a Locked nrf52840 Chip
In case your nrf52840 is in a locked state and you’re trying to program the device with OpenOCD you will get an error message like this:
Error: Could not find MEM-AP to control the core
****** WARNING ******
nRF52 device has AP lock engaged (see UICR APPROTECT register).
Debug access is denied.
Use 'nrf52_recover' to erase and unlock the device.
One possibility to do so is by calling
nrfjprog --recover
Another way is to use OpenOCD via
openocd -c 'interface jlink; transport select swd; source \
[find target/nrf52.cfg]' -c 'init'  -c 'nrf52_recover'
Please note that this call will not automatically return. The output should look similar to this
Waiting for chip erase...
nrf52.cpu device has been successfully erased and unlocked.
Info : nrf52.cpu: hardware has 6 breakpoints, 4 watchpoints
Info : Listening on port 6666 for tcl connections
Info : Listening on port 4444 for telnet connections
Error: nrf52.cpu -- clearing lockup after double fault
Polling target nrf52.cpu failed, trying to reexamine
Info : nrf52.cpu: hardware has 6 breakpoints, 4 watchpoints
Just exit via Ctrl+C and the device should be programmable via OpenOCD again.
However, note that both procedures will reset the entire flash of the device – including the reset pin configuration.)
Reset Pin Configuration
As documented in the RIOT documentation the reset pin of the board is per default no configured to perform a reset. However, the behavior of this pin can be configured via software. You can use the tool nrfjprog to configure the pin via the command:
nrfjprog --pinresetenable
Please note that the setting will be lost after reflashing the device.